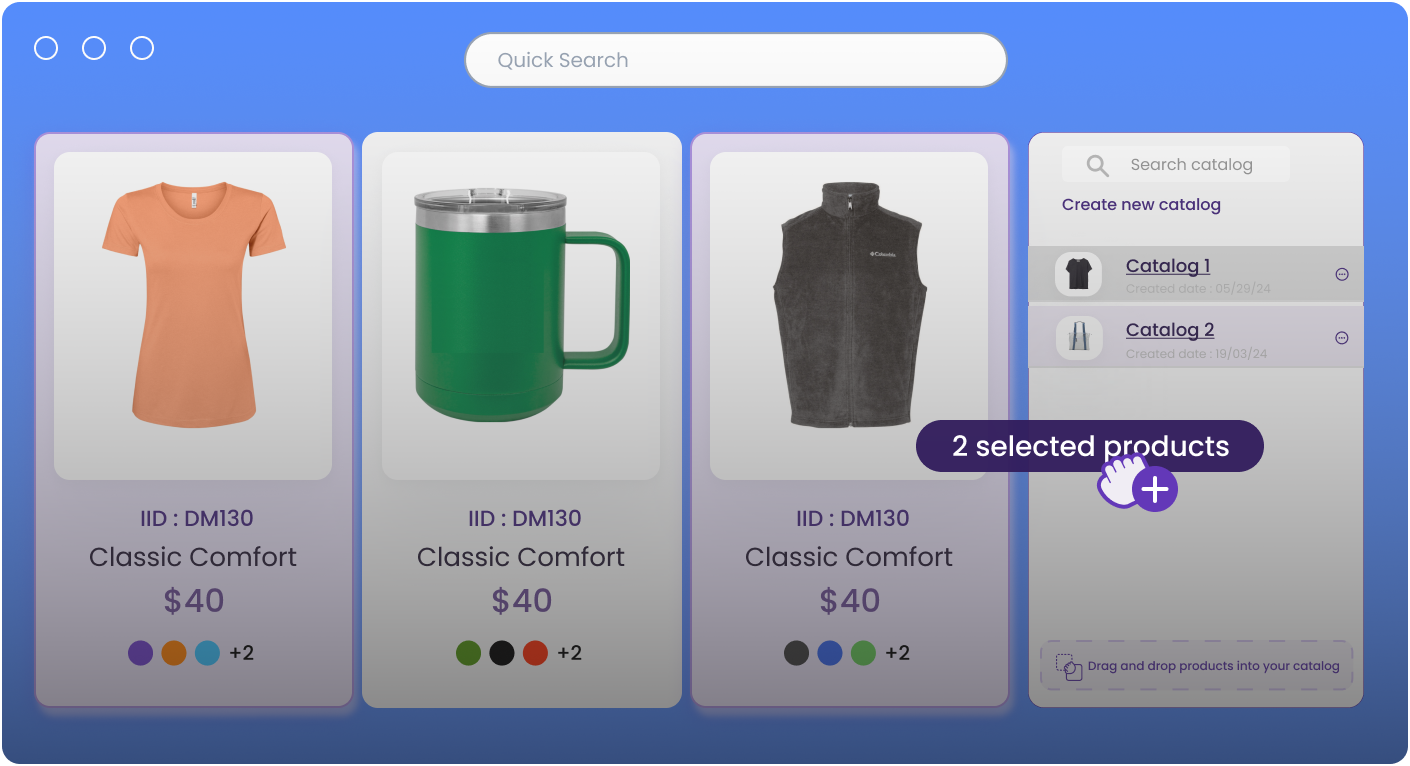
What makes us different
Our unique features give you an unbelievable competitive advantage.
Set Up in Minutes
Rapidly make catalogs and assign to stores.
Set Team Roles
Choose team member access and roles.
Decorate in Style
Preset placeholders simplify decorating.
How to set up
on-demand stores
We make selling superheroes (cape not included). Drag, drop, create, and decorate all on one platform. Sell custom on demand products with Brikl.
1
Create your catalog
Search, sort, filter, and
manage your products
2
Add branding
Upload a logo to
personalize the store
3
Ship it out
Relax. Let decorators
ship your products
Why go
on-demand?
Risk-free, no inventory held
Eliminate design errors
Set up and sell in 15 minutes
Pull hundreds of bestselling products into your stores
Mix hard goods and apparel
Order from a quantity of 1

It always pays to be early
Get a competitive advantage and lock down our early
access price before July 1st.
“
Brikl and FAST Platform are the disruption that the industry needs.There's a better way of doing things and this is it.”
Danielle Augustine, VP of Sales at FAST Platform


