- Knowledge base
- Content & Theme
- Create a theme
What is a theme?
Set a theme for the same reason you upload your brand colors, logos and use inspirational imagery across your store: it all reminds your customers who they're shopping with, what your brand identity is and even what your values are.
Your theme is the overall look, feel and style of your website. This includes things like the font types, color scheme, layout, design and style elements. Your website theme is a direct representation of your brand and has a direct impact on your users' experience.
The terms team store, group stores and microsites may be used interchangeably throughout this article but all refer to the same thing. Read more about this here.
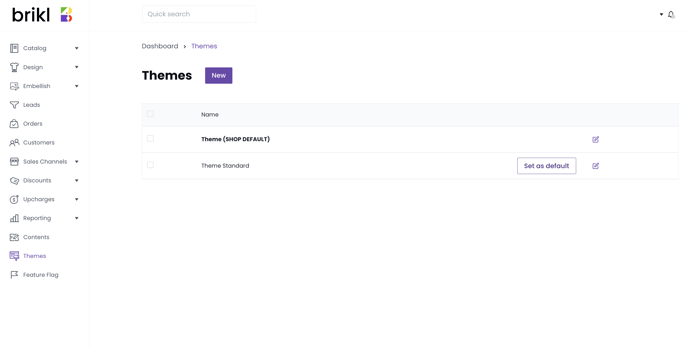
How do I change my theme?
For more information, see our article on our theme editor.
How do I assign a theme to my team store?
An internal team store will inherit the theme settings of the storefront that it's assigned to. Check out our article on assigning your theme store to a storefront for more on this.
In case of an external store, you can directly assign a theme. Contact us for more information.