A good checkout process should be simple. It must offer a seamless experience for customers, with an uninterrupted path from the product page to the cart page, to the checkout page, and then finally to the order confirmation page.
Skip to...
Add to cart
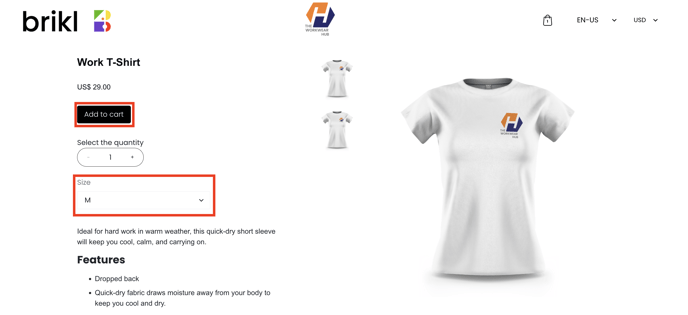
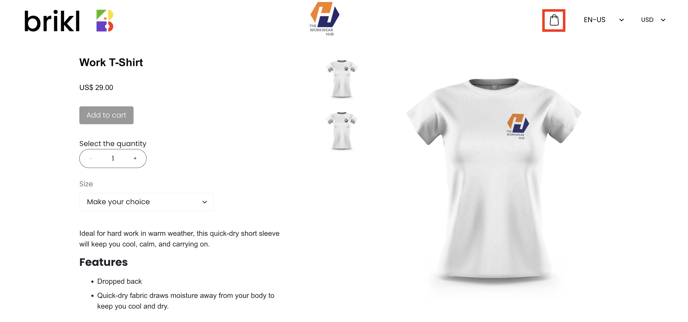
The 'add to cart' button allows customers to choose items to purchase without actually completing the payment. For online stores, the add to cart button lives on individual product pages, functioning as the digital equivalent of a shopping cart in a brick-and-mortar store.
Before adding the product to cart, customers must first select the product options on the product page or product package page. In the case of a product package, customers need to select the product options of each of the underlying products.
Product page:
Product package page:
Example 1 (Size selection) 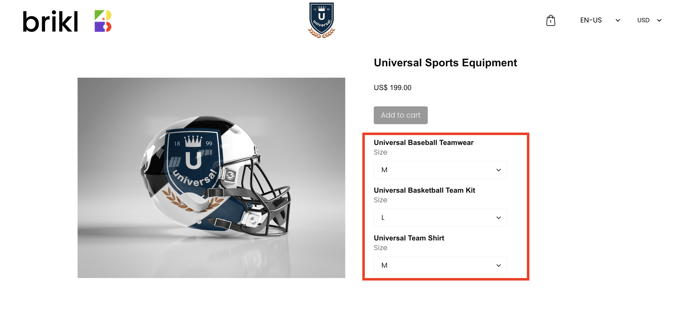
Example 2 (Size and Personalization selection)

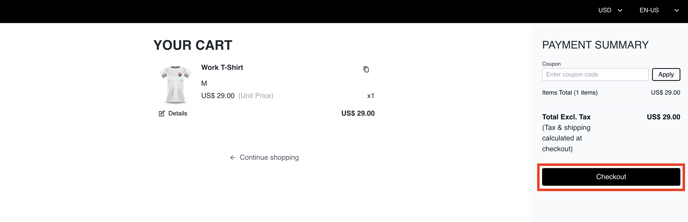
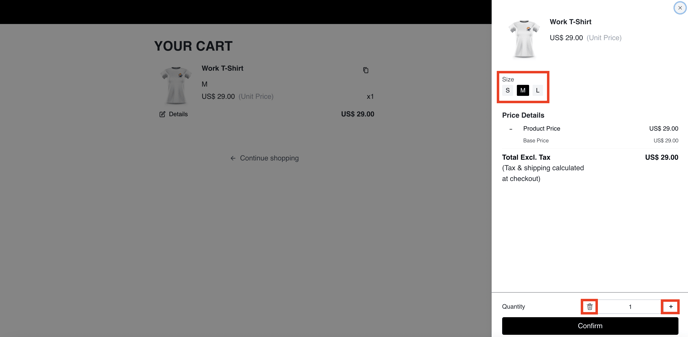
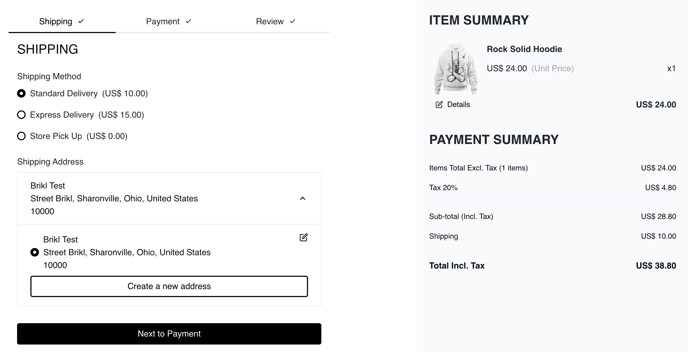
After customers have clicked the 'add to cart' button, they are redirected to the cart page. A cart page is a page where customers can accumulate what they want to buy from a MicroStore and check out.
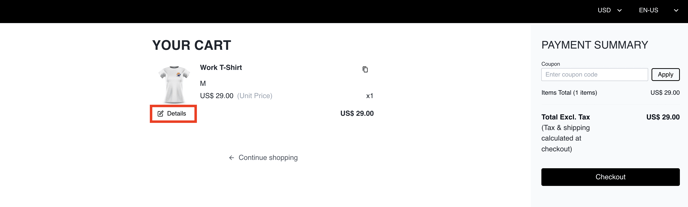
Customers can click on 'details' to change the quantity, product option (e.g. size) or to remove the item from the cart.
Product details:
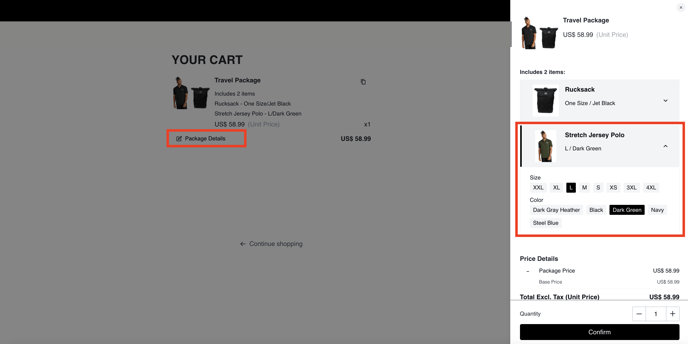
Product package details:
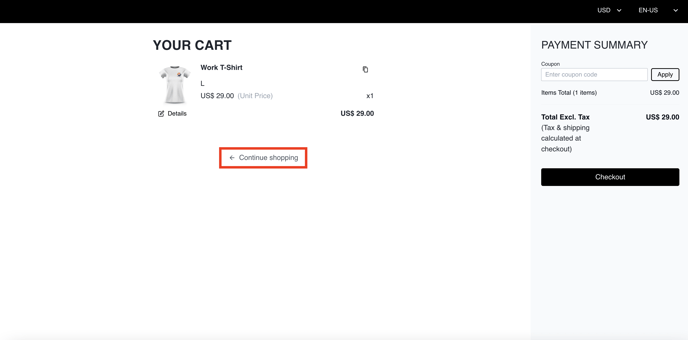
If customers want to continue shopping, they can click on 'Continue Shopping,' which takes them back to the MicroStore homepage.
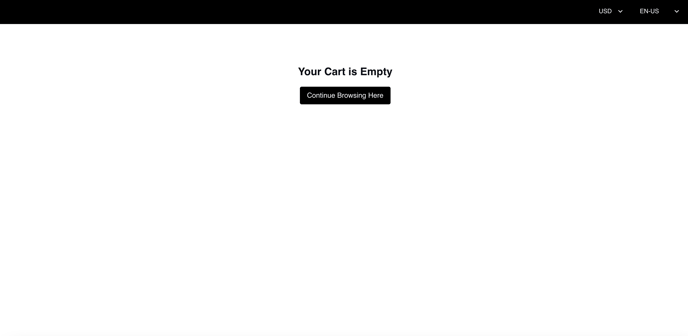
If customers click on the "cart" icon when no items have been added to the cart yet, following message will be displayed:
Complete checkout
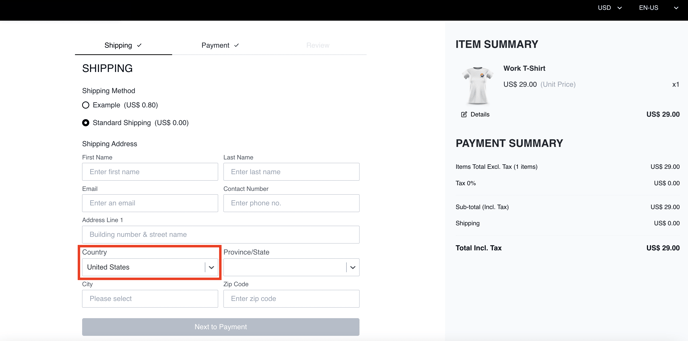
Auto-filling the shipping address field in checkout
Brikl selects the country for the customer's shipping address based on the geolocation of their IP address to help save time completing the address details.
- Customers can change the suggested country in the address form by clicking the dropdown button and selecting a different country.
- The shipping method will not change until the customer has saved the new address.
- If a customer is using a VPN or the IP geolocation is incorrect, the customer can change the country manually in the dropdown.
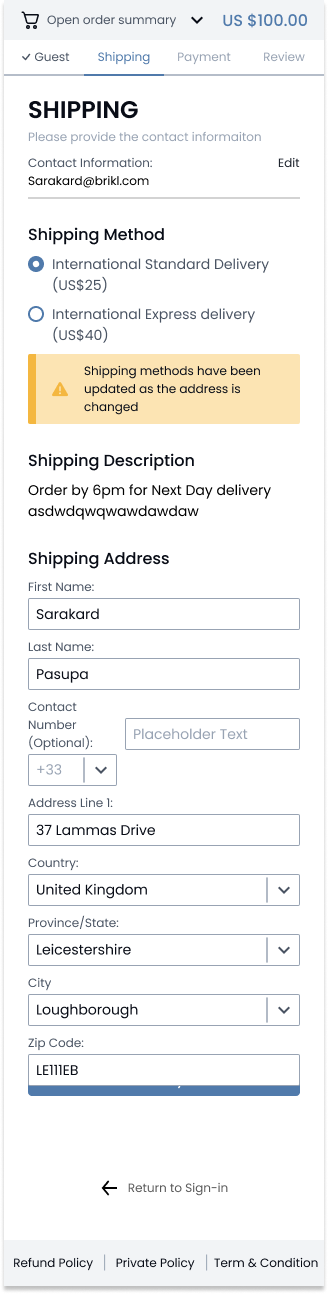
Warning when changing the shipping country
If the customer changes the shipping country, they will see a warning message if the shipping method got changed from updating the shipping country. The customer will need to re-confirm the shipping method.
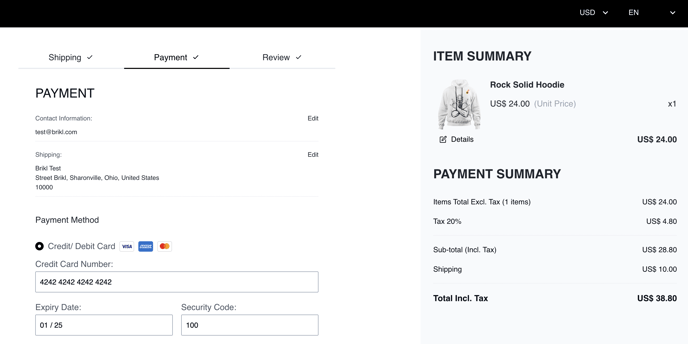
Step 2 - Select payment method (and provide payment details).
Enabling more than one PO method on a MicroStore
You can enable multiple manual payment options at checkout to allow customers to select between them. This may be especially useful for customers with multiple PO types.
Collect PO numbers from customers during checkout:
-
Customers will be prompted to input the PO number during checkout if a purchase order is selected as a payment method.
-
This PO number will be stored as part of their order details and listed in any reports generated.
Brikl currently supports the following online payment methods: credit card, Apple Pay, BanContact, iDEAL, and Sofort.
Apple Pay only works in a Safari browser, not in, e.g., Chrome or Firefox.
Read more here.

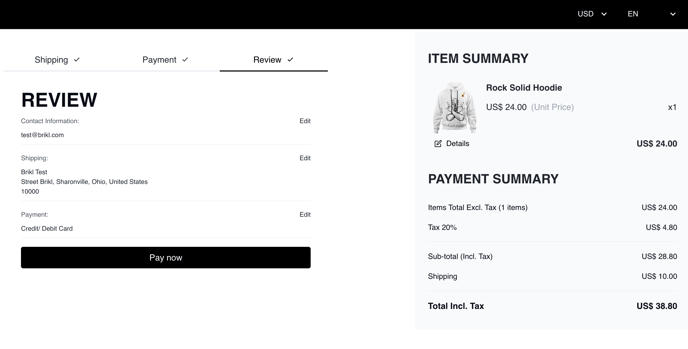
What happens after the customer clicks 'Pay Now'?
1. Payment steps
Step 2 - Next, the customer will be redirected to a loading page with the message “Waiting for payment status."
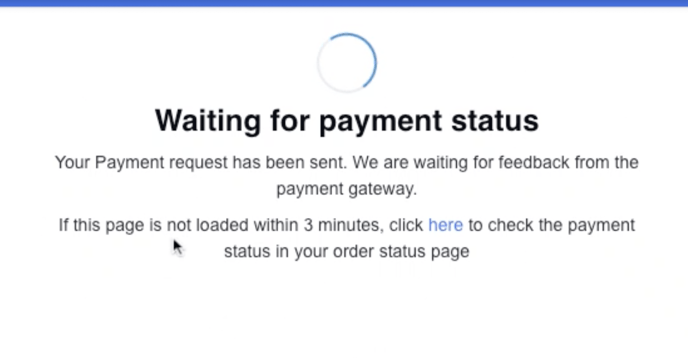
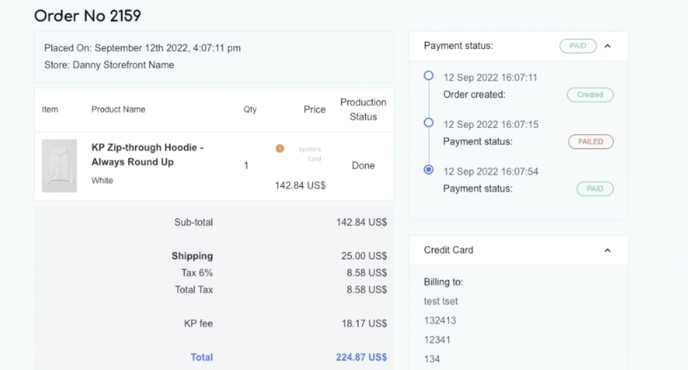
Step 3 - Once Stripe has completed processing the customer's payment, its status will be displayed.
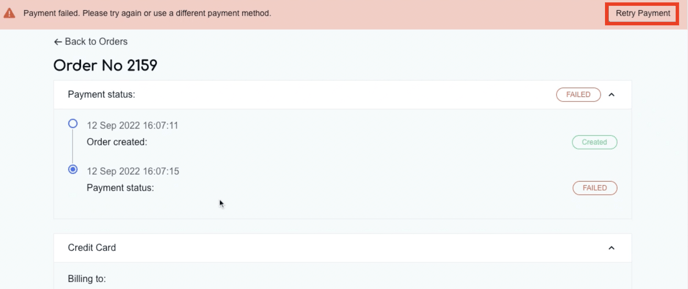
There are two options:
- Payment failure: In case payment failed, the customer can click the “Retry Payment” button to go to the order summary page to try again.
-Sep-14-2022-06-08-27-08-PM.png?width=688&name=Untitled%20(1)-Sep-14-2022-06-08-27-08-PM.png)
- Payment success: A thank you message will appear at the bottom, and the customer will automatically be redirected to the order summary page.
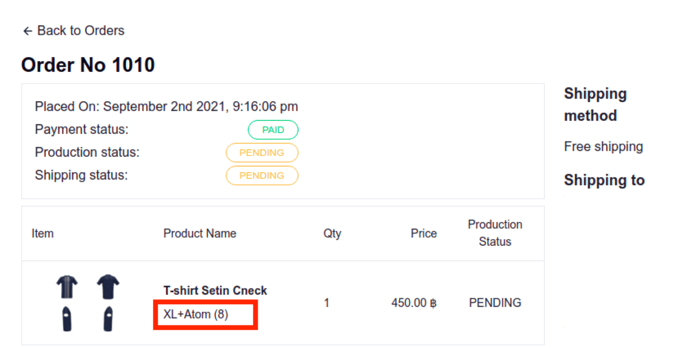
The number (e.g., 8) which appears next to the product option is a reference to the product option the merchant has set up in the dashboard.
2. Order history
The order history can be accessed at any time by the customer by going to the order page, for example, www.example.com/en/app/orders.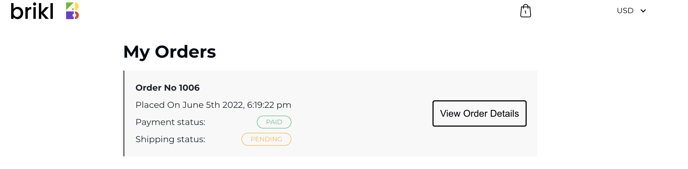
To access the order history page as a guest user (without an account), make sure to access this page from the same device and browser you have used to place the order.
3. Order confirmation email
Customers and merchants will receive email notifications about new orders and changes in payment status. However, the notifications might differ depending on the payment method used.
Visit Email notifications for orders and payments to learn more about all notifications involved in manual payment and payments using Stripe.
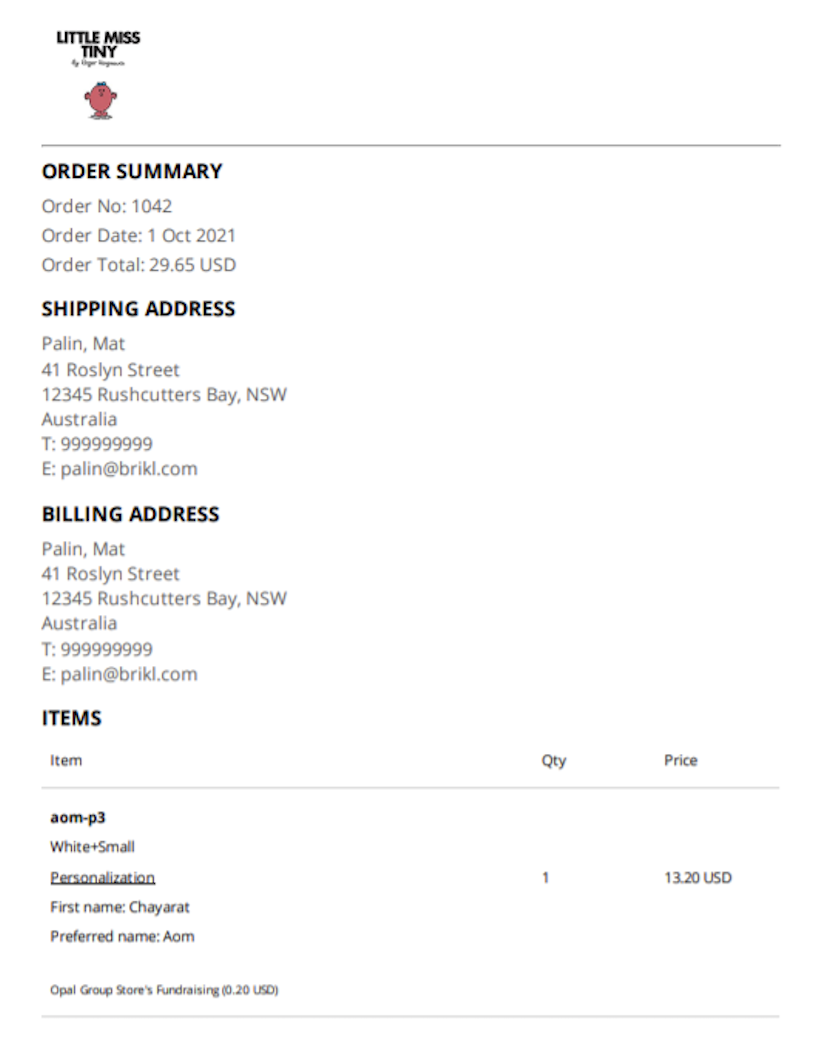 |
The merchant logo will appear on top of the order notification email. |
☝️ To learn how to set up email notifications, see Add a contact email.