You can funnel and define which contact email you want to use for different purposes.
Skip to...
Add and verify your email domain
Add your contact email on an account level
Add your contact email on a MicroStore level
Introduction
When a customer fills out a contact form or completes checkout, both the merchant and the customer will receive an email notification.
Contact emails must be added on an account (shop) level. They can be overridden on a MicroStore level.
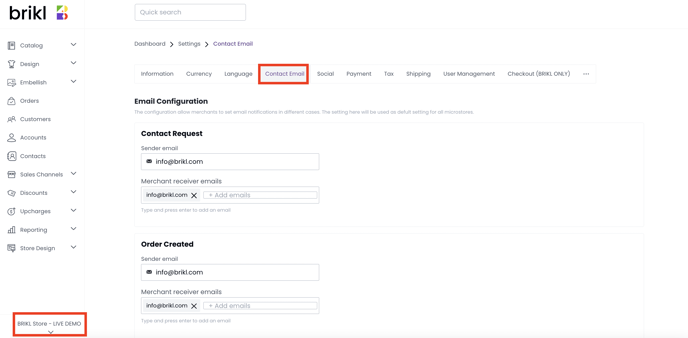
To get started, navigate to Dashboard > Settings > Contact Email.
Add and verify your email domain
Before adding contact emails, make sure to add and verify your email domain.
Step 1 - Add your domain in the Brikl Dashboard to generate DNS records
Go to Settings > Contact Email > (Scroll down to "Domains"). Enter your email domain to generate the DNS records.
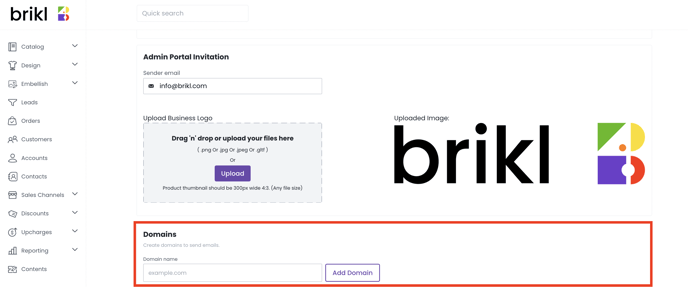
The domain name to be entered must be the primary domain. Eg "example.com", NOT eg team.example.com or www.example.com.
There can be more than one domain to add and verify in this email configuration. If you want for example different events to be sent to different email addresses, you can use the email address for which the domain has been added and verified.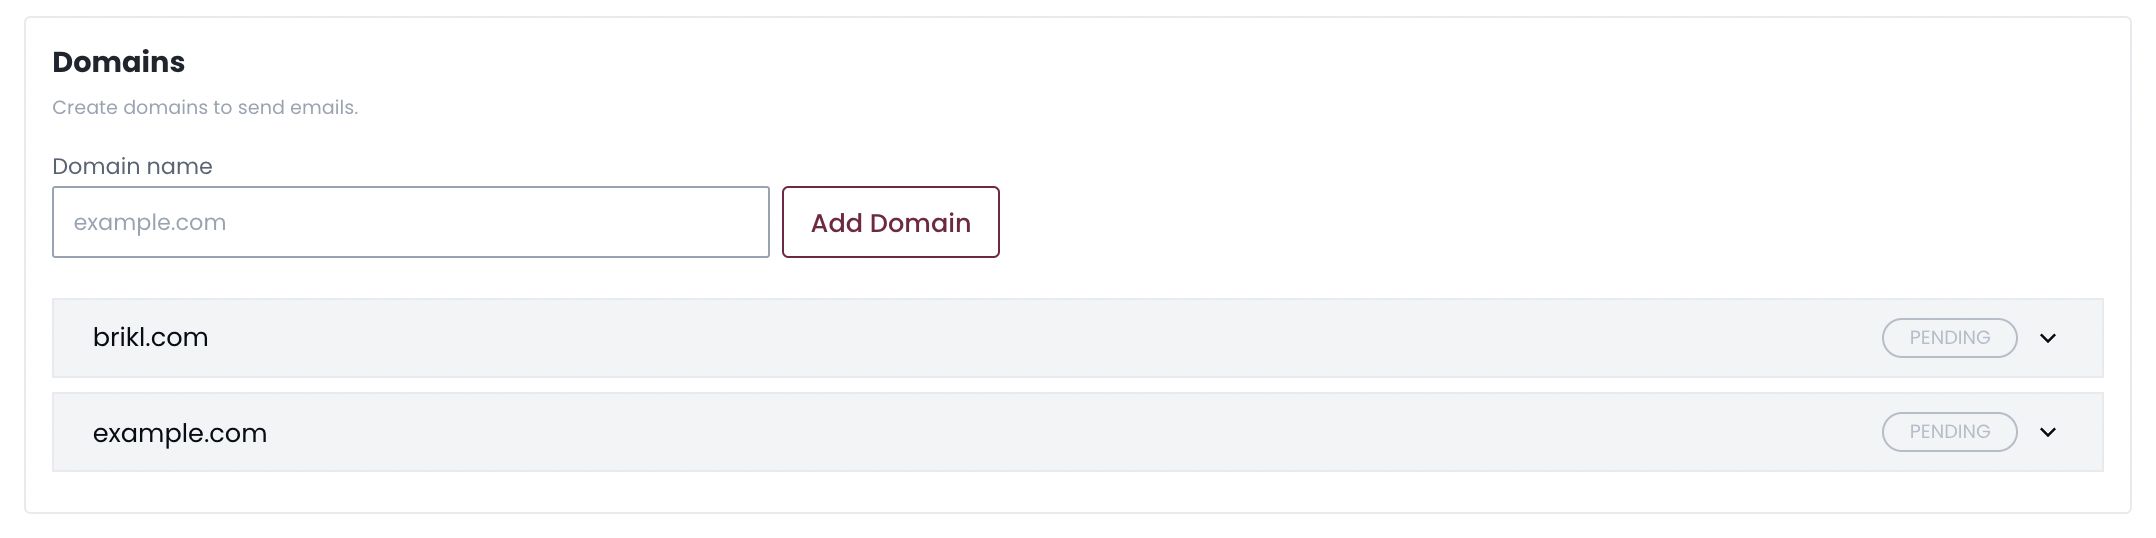
Step 2 - Setup DNS records in your email hosting provider's account
First, copy the DNS records from your Brikl Dashboard.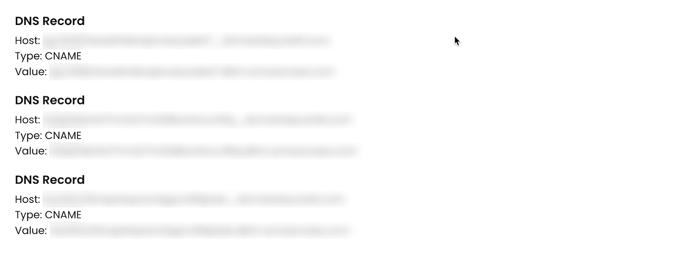
Next, visit your email hosting provider's account, and update the DNS records. Read more on how to update the DNS records of your email domain with your email hosting provider for the "Sender" addresses here.
The DNS configurations will enable your account to send emails using your company domain. Customers receive an email notification when they place an order in your store. By default, the email address used to notify customers is orders@brikl.com. Adding the DNS Records to your DNS server will display your company's email as the sender instead of order@brikl.com.
☝️ If you need help with your DNS configuration, please contact your email hosting provider's support team.
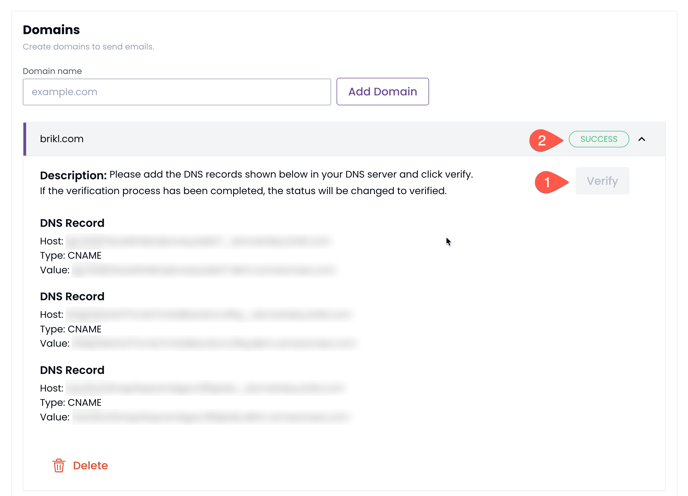
Step 3 - Verify your domain in the Brikl Dashboard
Once the DNS records have been updated in your DNS server, navigate to your dashboard again: Settings > Contact Email > (scroll down to "Domains"), and click "Verify". If the verification process has been completed, the status will change to "SUCCESS".
Add your contact email on an account (shop) level
Email contact details must be provided both for the Sender and the Receiver.
- Sender: This is what address the email originates from. For example example@brikl.com will be the email displayed when a message is sent from merchant to customer. You can only have one sender email in place.
- Recipient: This is the address the merchant will receive the email order notification. You can have multiple merchant recipient emails in place under 'Merchant receiver emails'.
Order Created
When a customer completes the checkout, the merchant and the customer will receive an email notification.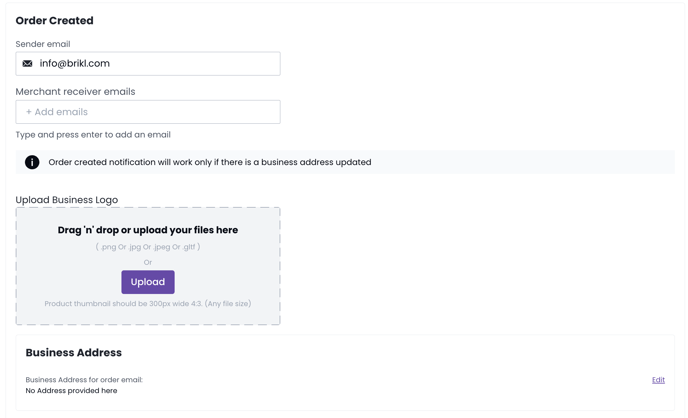
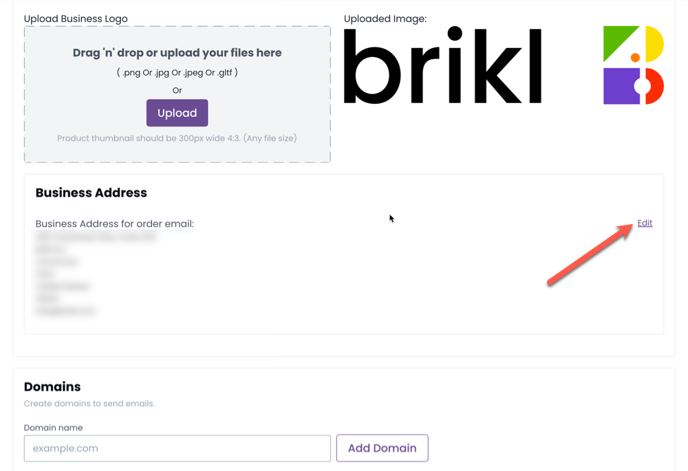
Make sure to upload the business logo and to add the business address you would like to go out in email confirmations.
Business Address
Click the "Edit" link to add your business address. Your business address will appear in all order emails and customer invoices.
Contact Request
When a customer fills out a contact form, the merchant and the customer will receive an email to the designated email address.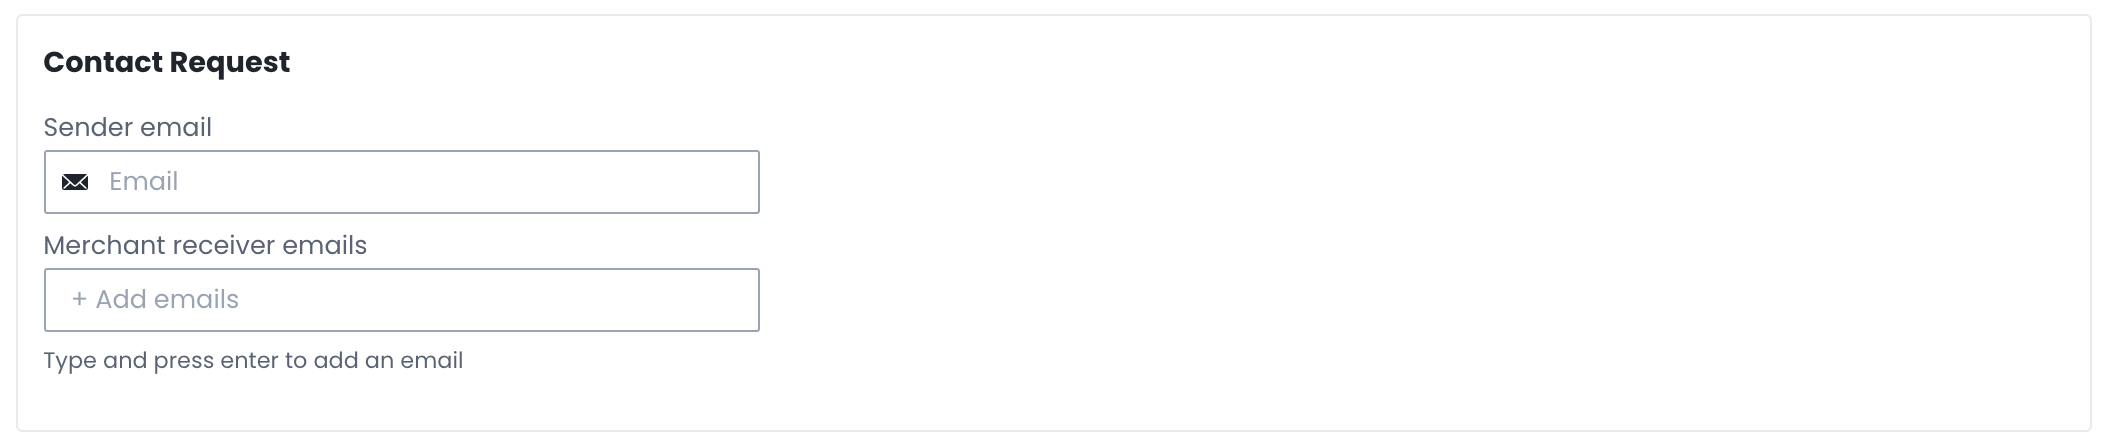
A contact form can be added to your product page, cart page, checkout page with the help of Brikl's content builder.
Add your contact email on a MicroStore level
Setting your contact email works at an account level but can be overridden at a MicroStore level.
